Wie man TD-H3 Plus mit CPS oder Odmaster programmiert
Einleitung
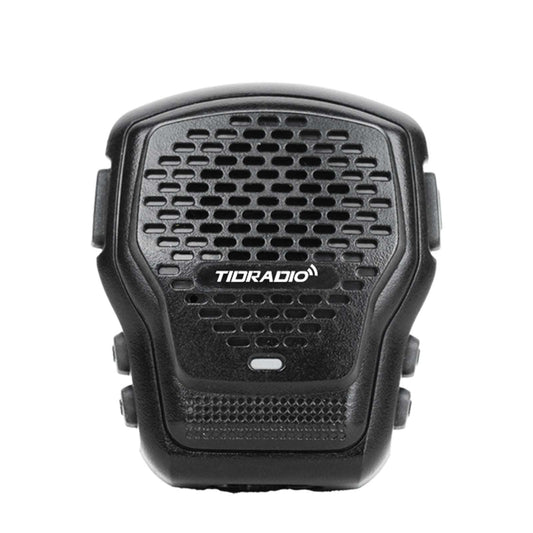
Das TIDRADIO TD-H3 Plus ist ein vielseitiges Handfunkgerät/Walkie-Talkie, das sowohl für Hobbyisten als auch für Profis geeignet ist – egal, ob Sie sich für Amateur-/Ham-Funk interessieren, ein robustes GMRS-Walkie-Talkie für den Familiengebrauch benötigen oder ein programmierbares VHF/UHF-Amateurfunkgerät für den Feldeinsatz wünschen. Diese Anleitung zeigt, wie Sie das TD-H3 Plus mit der CPS-Software oder der Odmaster-Plattform programmieren. Sie behandelt auch verwandte Themen wie die Bluetooth-Funkgeräte-Einrichtung (für die Odmaster Mobile App) und Anmerkungen zu GMRS und anderen Funkgerätetypen zur Kontextualisierung.
Vorbereitung vor der Programmierung
1. Systemvoraussetzungen des Computers
Windows-Computersystem (außer Mac)
2. Programmierkabel
USB-C Programmierkabel oder CH340 Programmierkabel
Tipps: Der Treiber sollte vor der Programmierung installiert werden.
3. Verbinden Sie Ihr Walkie Talkie mit dem Computer
1) Stellen Sie sicher, dass beide Enden des Programmierkabels korrekt angeschlossen sind.
2) Schalten Sie Ihr Funkgerät ein. Stellen Sie sicher, dass es während des Programmiervorgangs ausreichend Strom hat.
TD-H3 Plus CPS Software-Programmiervorgang
Stellen Sie sicher, dass das Programmierkabel ordnungsgemäß mit dem Programmieranschluss des Funkgeräts und dem USB-Anschluss Ihres Computers verbunden ist.
Schritt 1: Gehen Sie zur TIDRADIO Firmware-Website: https://walkietalkiesoftware.com/ und melden Sie sich an.
Schritt 2: Klicken Sie in der oberen Navigationsleiste auf Software.
Schritt 3: Überprüfen Sie Ihr Funkgerätemodell und die Version. Scrollen Sie im Abschnitt Software nach unten, um Ihr Modell zu finden, und klicken Sie dann, um es zu öffnen.
Schritt 4: Laden Sie die entsprechende Programmiersoftware herunter.
Schritt 5: Öffnen Sie die Software, gehen Sie zu Com (Kommunikationsport) und überprüfen Sie, ob das Funkgerät erfolgreich mit dem Computer verbunden ist. (Wenn nicht, überprüfen Sie bitte die Verbindung des Programmierkabels erneut.)
Schritt 6: Sobald die Verbindung hergestellt ist, klicken Sie auf Lesen, um die Funkgerätedaten auszulesen.
Schritt 7: Bearbeiten Sie die Funktionen und Einstellungen nach Bedarf.
Schritt 8: Wenn Sie fertig sind, klicken Sie auf Schreiben, um das Funkgerät zu programmieren.
TD-H3 Plus Odmaster Programmiervorgang
Odmaster Web
Schritt 1: Gehen Sie zur Odmaster-Website: https://web.odmaster.net/login und melden Sie sich mit Ihrem Odmaster-Konto an.
Schritt 2: Stellen Sie sicher, dass Bluetooth Ihres Funkgeräts eingeschaltet ist. Klicken Sie auf der Webseite auf Mit Bluetooth-Gerät verbinden und wählen Sie Ihr Funkgerät aus.
Schritt 3: Wählen Sie unter Modellwahl das richtige Modell und die richtige Version aus und klicken Sie dann auf Hinzufügen.
Schritt 4: Klicken Sie auf Lesen, um die Daten des Funkgeräts abzurufen.
Schritt 5 Bearbeiten Sie die benötigten Einstellungen und Funktionen, wie Kanal, RX/TX Frequenz, FM, DTMF, etc.
Schritt 6: Nach der Bearbeitung klicken Sie auf Schreiben, um das Funkgerät zu programmieren.
Odmaster Mobile APP
Schritt 1: Laden Sie die Odmaster Mobile App herunter und melden Sie sich mit Ihrem Odmaster-Konto an.
Schritt 2: Wählen Sie in der unteren Navigationsleiste Programm.
Schritt 3: Stellen Sie sicher, dass Bluetooth Ihres Funkgeräts eingeschaltet ist, tippen Sie dann auf Bluetooth verbinden und wählen Sie Ihr Funkgerät aus.
Schritt 4: Tippen Sie auf Modellauswahl, wählen Sie dann unter Marke TIDRADIO und unter Modell Ihr Funkgerätemodell und die Version aus.
Schritt 5: Tippen Sie auf Lesen, um die Daten des Funkgeräts zu laden.
Schritt 6: Sobald die Daten geladen sind, sehen Sie die Abschnitte Kanal und Funktionen. Sie können die benötigten Einstellungen bearbeiten, wie Kanal, RX/TX Frequenz, FM, DTMF, etc.
Schritt 7: Nach der Bearbeitung tippen Sie auf Schreiben, um das Funkgerät zu programmieren.
Sollten Sie Probleme bei der Programmierung haben, können Sie entsprechende Screenshots erstellen, das aufgetretene Problem beschreiben und diese an das After-Sales-Team senden.